Setup Guide
Get your device and court ready for the perfect RIMNET experience
Perfect Setup in 3 Steps
Follow these essential steps to ensure RIMNET can accurately track your shots
Check Your Basketball Hoop
RequiredNet is Essential
Your basketball hoop must have a net attached. Without a net, RIMNET cannot detect successful shots.
Why is the net important?
- The net movement helps our AI detect successful shots
- Provides visual confirmation for shot tracking
- Enables accurate make/miss analytics
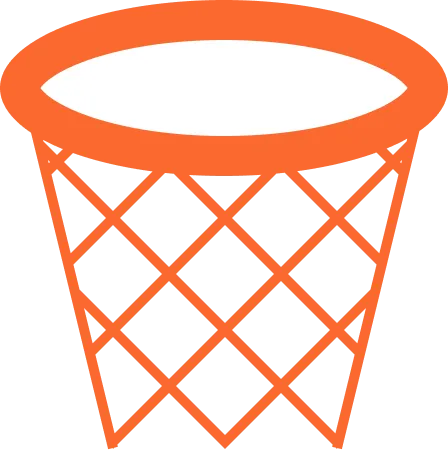
Hoop with net - Ready to go!
Position Your Device
CriticalGround-Level Setup
Simply place your phone on the ground at the basketball base with the camera aimed at the rim. No tripod or elevation needed!
Simple Positioning Guide
Location: Place phone at the basketball base
Surface: Directly on the ground
Camera: Aimed upward toward the rim
Simple: No tripods or stands required

Phone placed at the base, camera aimed at rim
Optimize Your Environment
RecommendedLighting & Conditions
Ensure adequate lighting and clear visibility for the best tracking accuracy.
Environment Checklist

Optimal court conditions
Common Setup Issues
Shots Not Detected
Check if your hoop has a net and ensure the camera is aimed directly at the rim.
Poor Tracking Accuracy
Improve lighting conditions and make sure your phone is stable and positioned correctly.
App Performance Issues
Ensure your device meets minimum requirements and close other apps running in the background.
Ready to Start Training?
Your setup is complete! Launch RIMNET and start improving your shooting game.